Products

Two ways to run your show.

The same open-source show engine, either on hardware we build, test and support — or free on a Raspberry Pi you set up yourself.

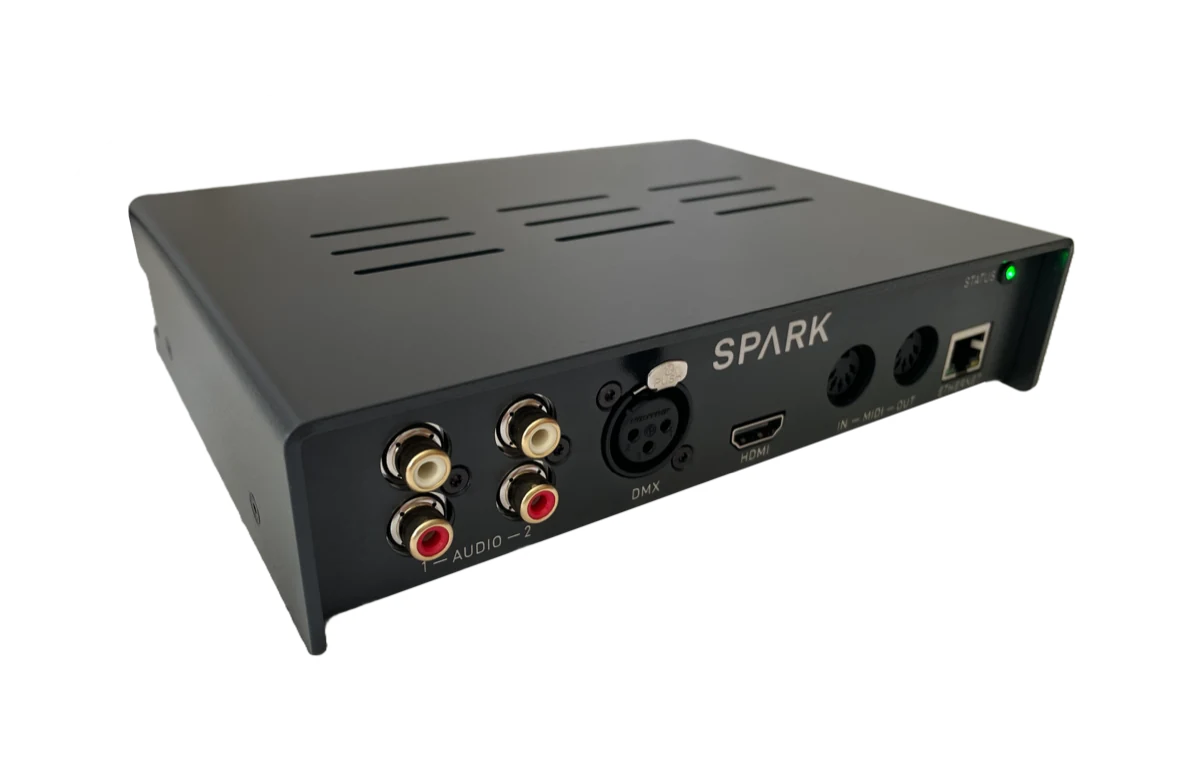
The Rocket Show SPARK hardware unit

Rocket Show SPARK

Your entire show control setup in one box. Lights, video, audio and MIDI, cued together and frame-accurate — started with a single tap.

  • Dedicated hardware, assembled and tested — no laptop on stage
  • DMX512 and Art-Net, HDMI up to 4K, two stereo outputs, MIDI in and out
  • Runs from any browser on the network, or from a button, footswitch or MIDI
  • 2-year warranty, 30-day money-back guarantee and support from us

€795 VAT included · shipping worldwide

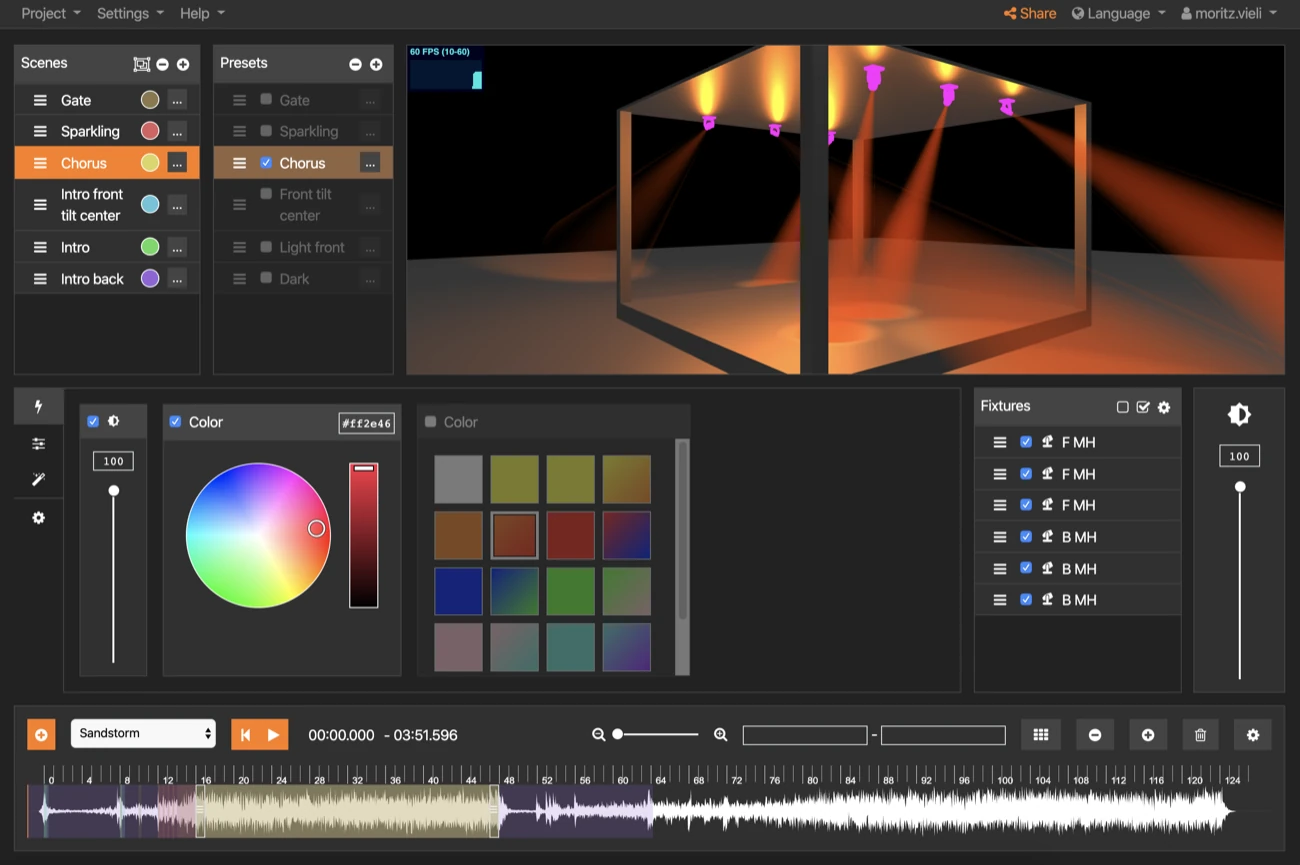
The Rocket Show composition editor and lighting designer running in a browser
Free · do it yourself

Community Edition

Download and install Rocket Show yourself. All you need is a Raspberry Pi 5 and a micro SD card — the show engine is the same one SPARK runs.

  • The same open-source show engine, editor and lighting designer
  • Ready-made image for the Raspberry Pi 5
  • Extend it with any ALSA sound card and a supported USB DMX interface
  • You source and wire the hardware; support comes from the community

Free open source, no account needed

Side by side

Same show engine. Different amount of work.

SPARK is the shortcut: everything below is already chosen, wired, set up, tested and warranted.

Feature Rocket Show SPARK Community Edition
Show software Rocket Show, open source Rocket Show, open source — the same show engine
Hardware Built, tested and shipped ready to run, enclosure and power supply included You buy a Raspberry Pi 5 with at least 2 GB of memory, a micro SD card, a case and a power supply
Audio outputs 2 × independent stereo out on board (4 channels) Any ALSA compatible USB sound card you add
Lighting DMX512 out (3-pin) on board · Art-Net over Ethernet Art-Net over Ethernet · DMX through a supported USB interface
MIDI MIDI In and Out on board Through a USB MIDI interface
Digital I/O 2 inputs, 4 outputs on screw terminals, for buttons, sensors and relays All of the Pi's GPIO pins are supported — you do the wiring
Setup Plug in, open the browser, load your show Flash the card, pick an audio interface, wire up the rest yourself
Backup and restore Save your whole configuration and put it back in a click Not available
Over-the-air updates New versions install straight from the interface Not available
Factory reset Back to the delivered state in one step Not available
Secure connection Switch the web interface to HTTPS Not available
Support Direct support, 2-year warranty, 30-day money-back guarantee Documentation and the community
Price €795 Free
Community Edition

Install it yourself, in six steps.

Everything you need is below. Budget an evening for the first setup.

  1. Get the parts

    A Raspberry Pi 5 with at least 2 GB of memory (a case is recommended), a micro SD card (class 10 or better) and the official Raspberry Pi 5 power supply.

  2. Download the image

    Take the image from the download box — it is built for the Raspberry Pi 5.

  3. Flash the card

    Write the image to the micro SD card with the Raspberry Pi Imager.

  4. Power it up

    Put the card in, connect power, then join the wireless network “Rocket Show” that appears — or plug the unit into your network over LAN.

  5. Open the interface

    Browse to http://RocketShow.local — or 192.168.4.1 / 192.168.42.1 over the device's own wireless, or the address your router assigned. The first start-up can take a few minutes before it answers.

  6. Choose an audio interface

    Pick your audio output in the settings, save, and restart the device. That's it — you can build your first composition.

Download

Tell us where to send it and the image for the Raspberry Pi 5 (64-bit) is in your inbox in a minute.

The image is free and open source. We use your address to send the link, and for updates only if you tick the box.

Extend your unit

  • Need more outputs or MIDI? Any Linux ALSA compatible sound card works. If you are unsure, we recommend the ESI GIGAPORT eX — we know it works well with Rocket Show.
  • For lighting, add a DMX interface from the supported list — if you are unsure, we recommend the ultraDMX Micro, which we know works well with Rocket Show.
  • Stuck? There is a detailed walkthrough: Rocket Show startup guide by DavidOpgh.

Not sure which one fits?

Tell us what you are running — the stage, the room, the gear you already own — and we will tell you honestly whether SPARK earns its price for you, or whether a Pi and an evening will do.